How To Use Photoshop’s Generative Fill Feature (With Examples)
Introduced in May 2023, Adobe Photoshop’s Generative Fill feature has been making photography professionals' and hobbyists' lives so much easier. This artificial intelligence tool, driven by Adobe’s generative AI model called Firefly, lets you modify your image using only text prompts. You can use Generative Fill to insert a new element (e.g., dog, cloud, building) into the picture, expand the canvas of your picture, remove anything from the photo, and even generate an entirely new image based on your imagination.
If you’re looking to try it out, we’ve got you covered with a tutorial that comes complete with prompt examples for your convenience. However, before you get started, it’s important to note that the Generative Fill feature is only available for Photoshop version 24.6 and later. verify you have the right one installed. Generative Fill also largely depends on cloud processing, so get your device connected to the internet first.
Adding an object
Generative Fill lets you incorporate new and realistic-looking objects and backgrounds into your photos. Follow these steps to use it:
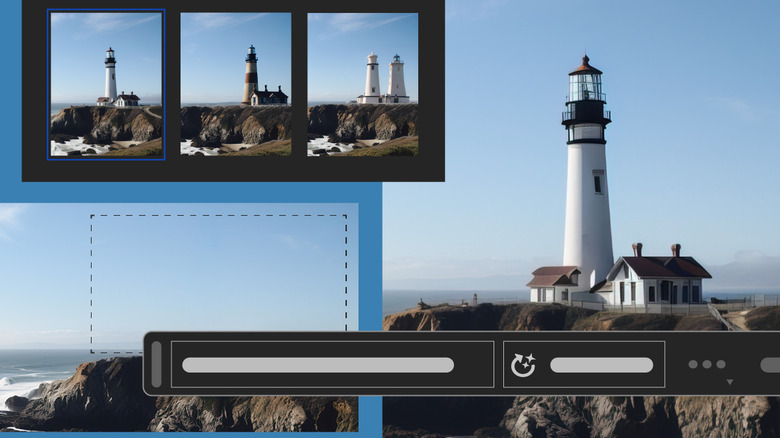
Expanding a photo
When using Photoshop’s Generative Fill feature to expand the photo, there’s no need to think of prompts, unlike when adding objects. Photoshop will automaticallyfill the extra canvaswith a scene that fits the surroundings of the original photo. Here’s how you can extend your picture:
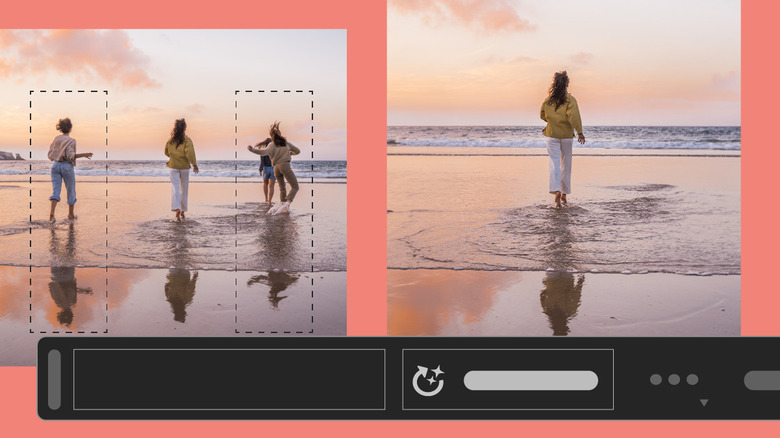
Removing an object
On top of adding new elements to the existing photo, Generative Fill lets you do the opposite and delete any element from the photo too. Here’s how:
Creating an image from a blank canvas
Generative Fill can expand an existing photo or incorporate new objects into it. However, the capabilities of this feature don’t stop there. you’re able to also use it to make a new picture entirely from scratch.